|
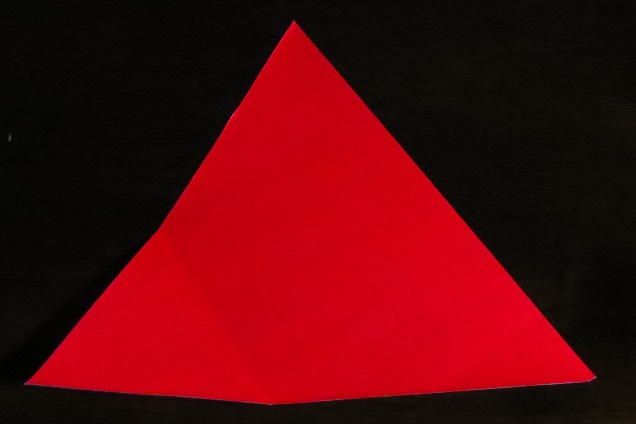
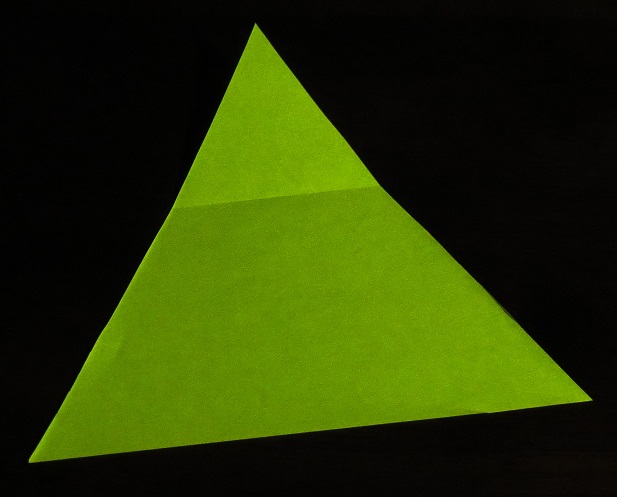
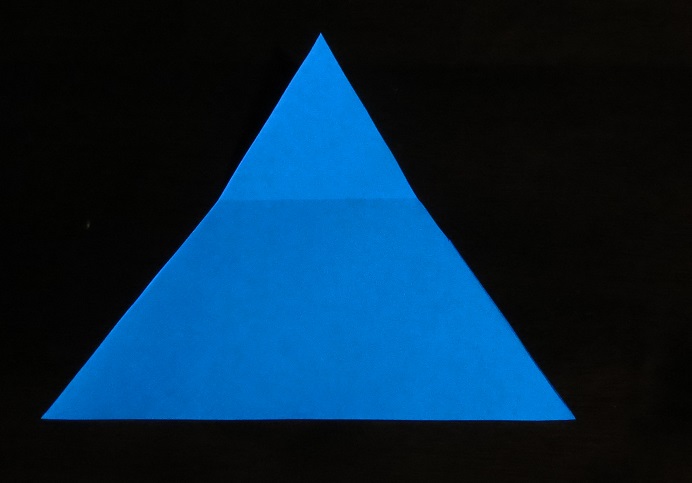
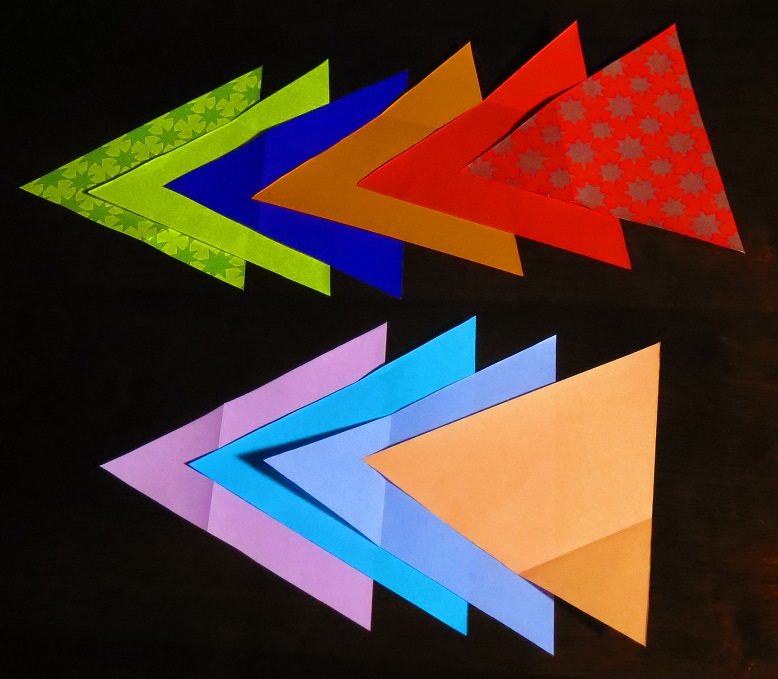
At some point in the recent past, it dawned on me that bases would be ideal patterns for my origami blog. Since base fold are fundamental to origami, I can first post a base, and then post several completed folds that use that original base. This will be the first: the triangle base. Difficulty: Very Easy
This pattern shows how to make an equilateral triangle from a square piece of paper. This triangular base may then be used in any number of projects, several of which I will blog about in the near future.
0 Comments
Difficulty: very easy
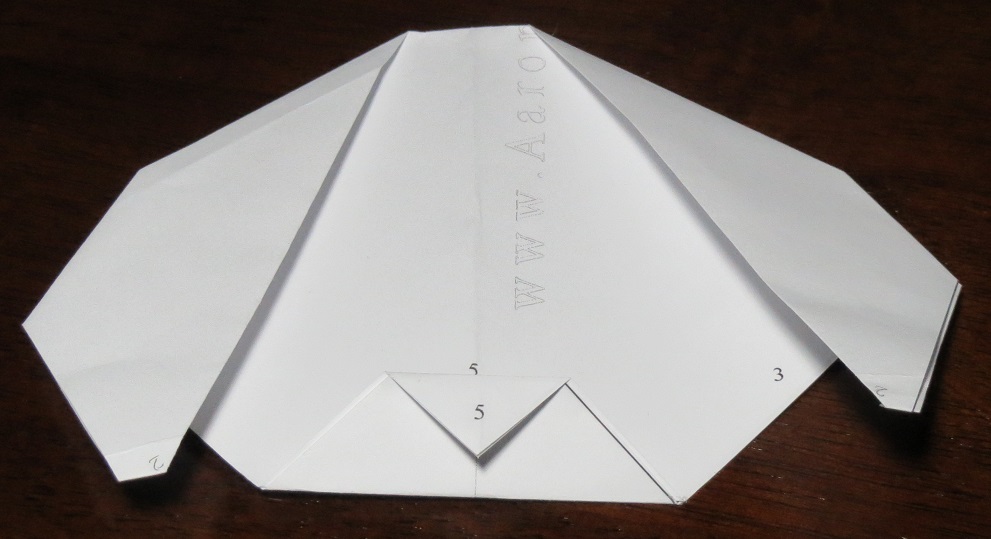
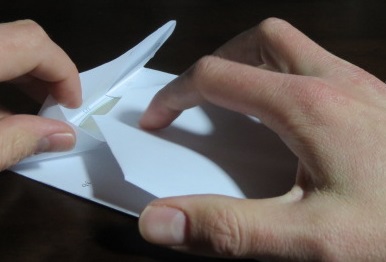
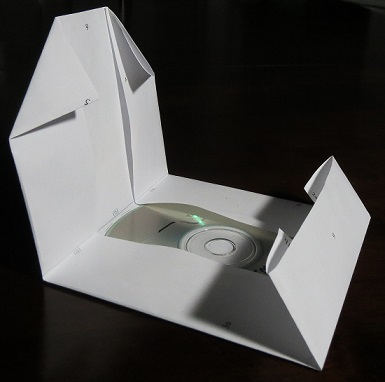
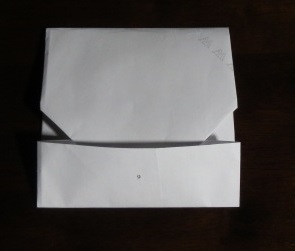
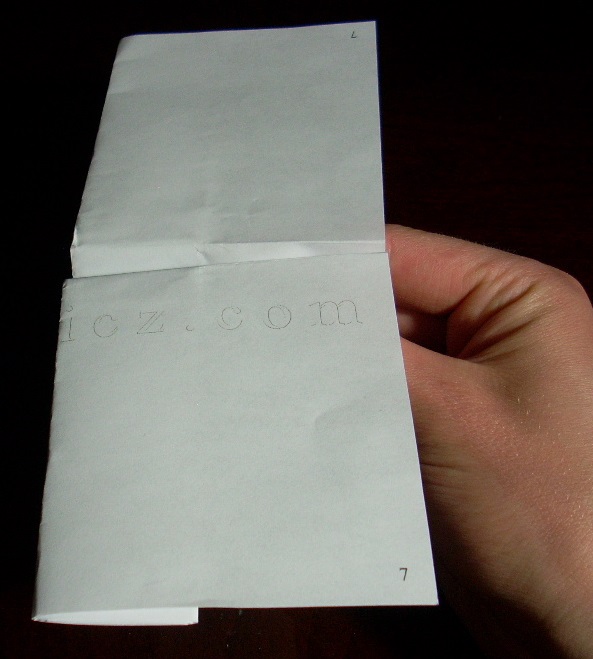
Directions: Fold 1a to 1a, and 1b to 1b. Fold 2a to 2a, and 2b to 2b. Fold 3a to 3a, and 3b to 3b. Fold 4 to 4. Fold 5 to 5. Fold 6 to 6. Slip the pointed fold underneath the top layer of paper so that it stays shut (see picture below for guidance). And here's the completed fold, with CD inside. First open... ... and then closed.
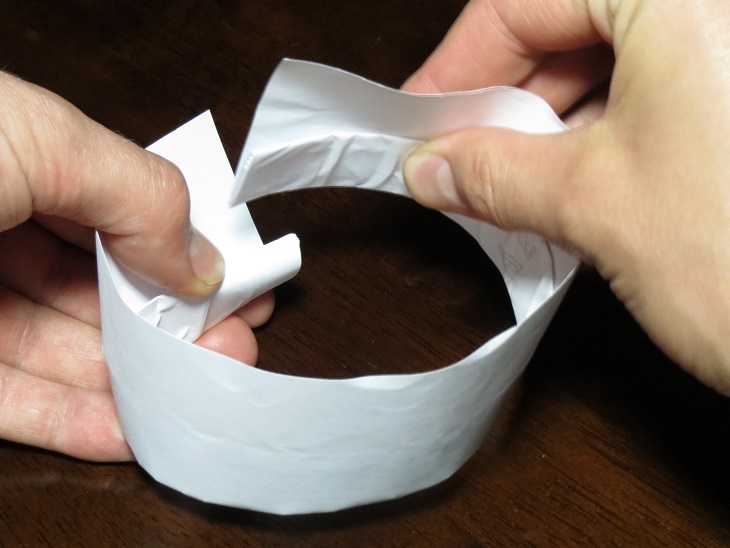
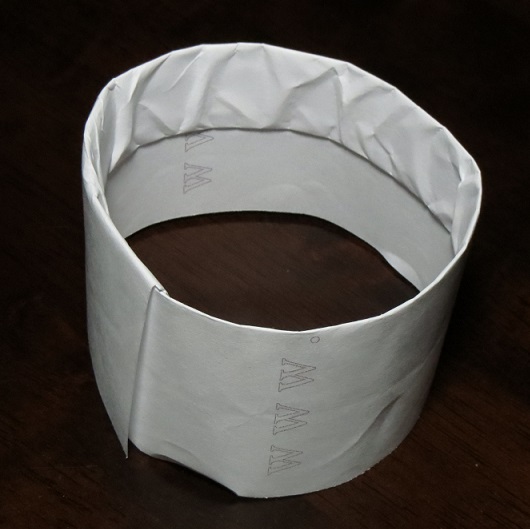
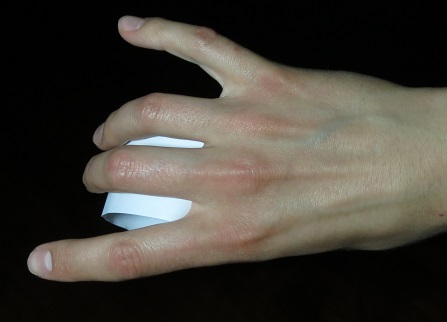
Difficulty: Very Easy Directions: Fold 1 to 1. Fold 2 to 2. Fold 3 to 3. Fold 4 to 4. Fold 5 to 5. Fold 6 to 6. Fold 7 to 7. Fold 8 to 8. Fold 9 to 9. Fold 10 to 10. Curve the paper by wrapping it around your finger or a pencil. Push one end into the other (tuck it into the pocket created by fold 10) until it holds a cylindrical shape. See the first picture below for an example. Optional: use a piece of tape or a dab of glue to help with this step.
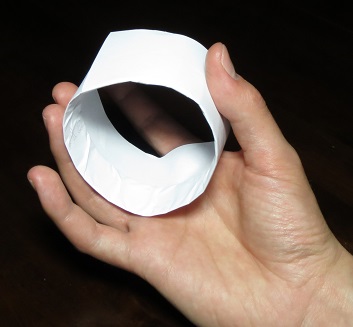
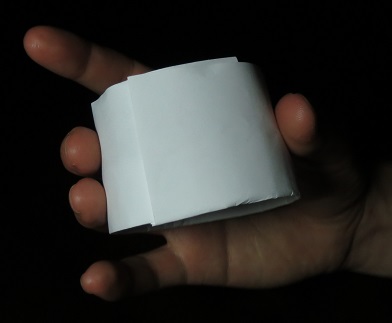
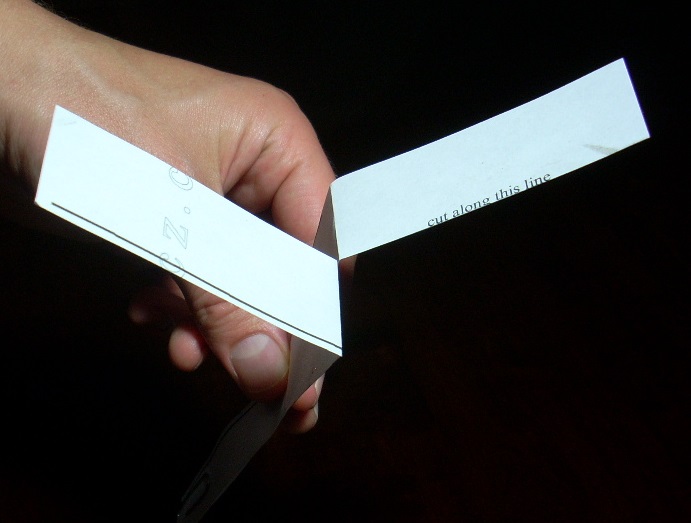
The finished product should look like this: To throw, hold between your thumb on one side of your hand and your middle and ring fingers on the other (again, see pictures below). Make sure your ring finger is above the weighted (i.e. layered) side or the flight will fail. When you release the paper, let it roll off your fingers, producing a spiral, just like a quarterback throwing a football. The faster the spin, the farther the paper will fly.
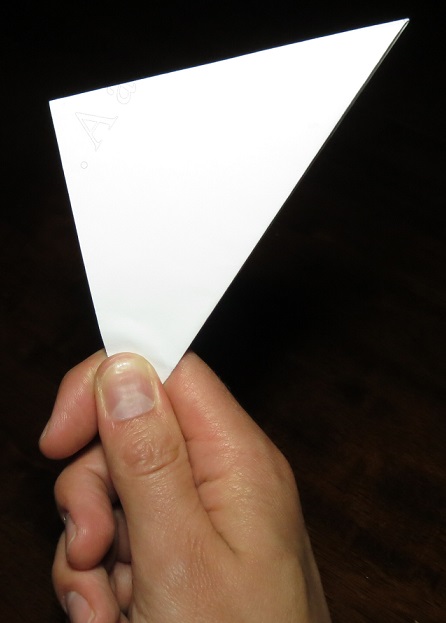
Difficulty: Very Easy Directions: Fold 1 to 1. Fold 2 to 2. Fold 3 to 3. Fold 4 to 4. Fold 5 to 5. Fold 6 to 6. Fold 7 to 7. Fold 8 to 8. The final product should be a triangle. Place the tip of your thumb on one 6, and the second knuckle of that same hand's index finger on the other 6. Make sure the hypotenuse is facing back towards your shoulder (see picture below for an example). Raise it above your head, then forcefully bring it down as if you're throwing a ball (but don't let go). Air pressure will force an inside layer of paper to the outside of the fold out, creating a loud noise. Before it can be used again, that layer must be pushed back inside. Experiment with different types of paper to see what makes the best sound.
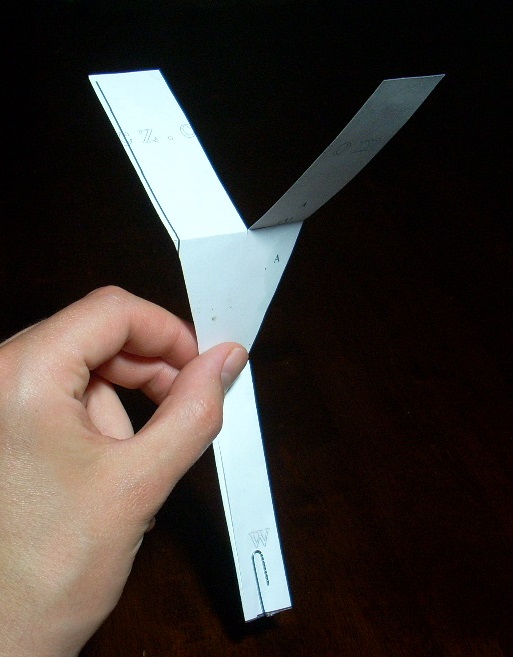
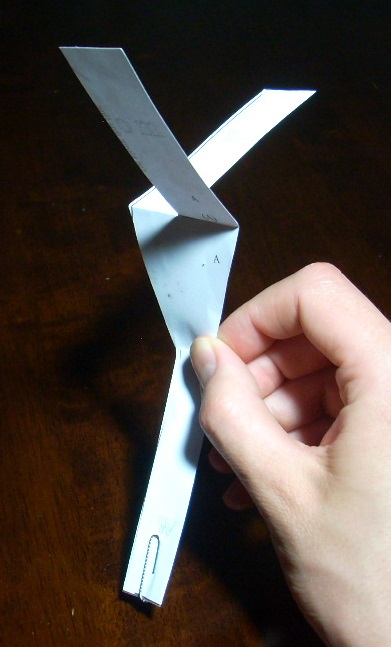
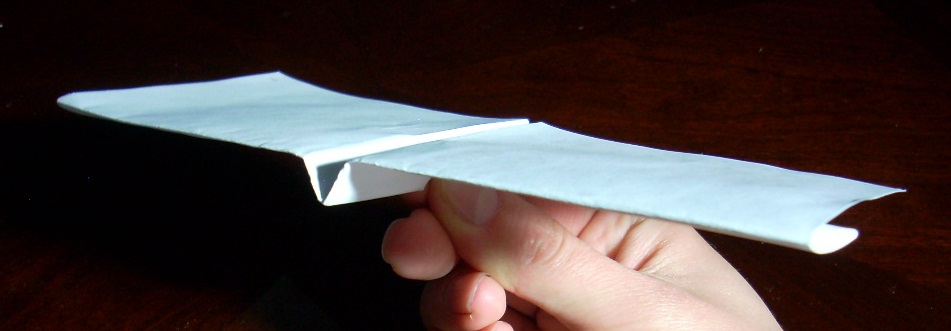
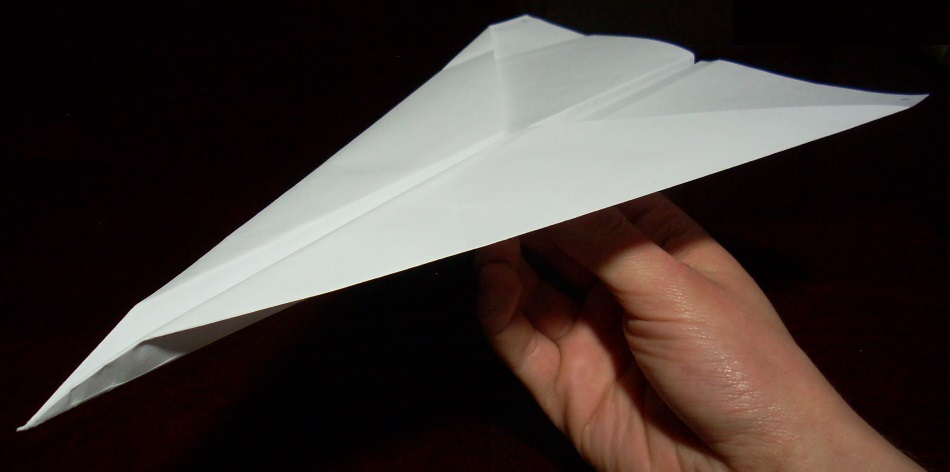
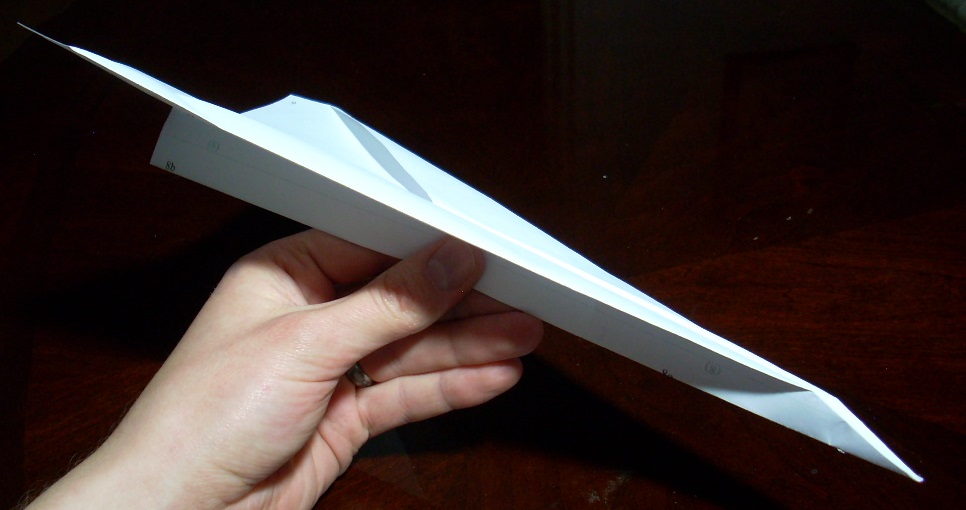
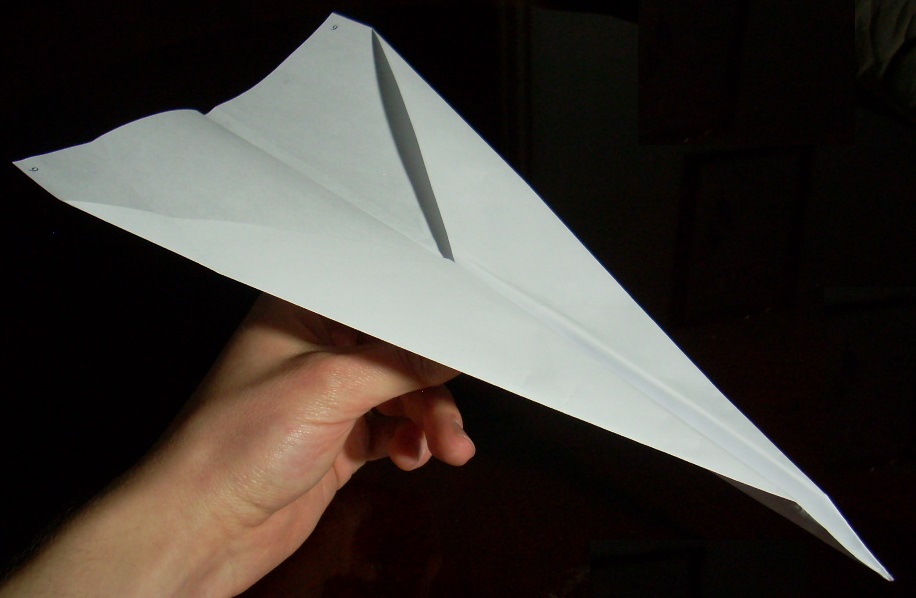
Difficulty: Very Easy Directions: Fold 1 to 1. Fold 2 to 2. Fold 3 to 3. Fold 4 to 4. Fold 5 to 5. Fold 6 to 6. Fold 7 to 7. The last step (folding down the two wings) has fold lines marked, but no corresponding numbers. Suggestions: Experiment making folds 1-6 larger or smaller than instructed (this will vary the weight of the plane's nose, with smaller folds creating a heavier nose and larger folds creating a lighter nose). When throwing this plane, don't throw too hard. In fact, instead of throwing it, think more about gently pushing it away from you - kind of like a knuckleball in baseball, maintain a stiff wrist when you release.
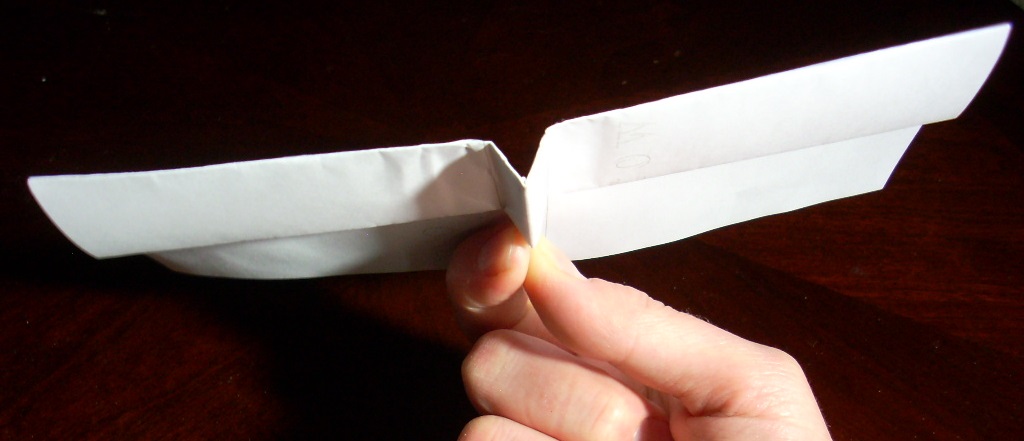
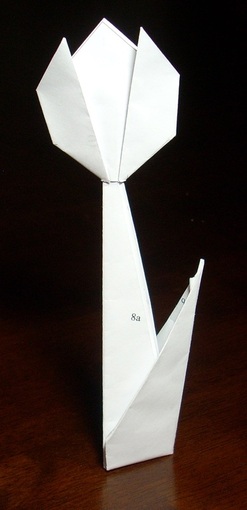
Difficulty: Very Easy Directions Fold 1 to 1, crease, and unfold. Fold 2 to 2. Fold 3 to 3. Fold 4 to 4. Fold 5 to 5. Fold 6 to 6. Fold 7a to 7a and 7b to 7b. Fold 8a to 8a and 8b to 8b. Suggestion: Experiment with different wing shapes and sizes by altering the 7th and 8th folds.
|
Origami Blog
My 8 March 2013 blog about origami prompted me to launch a second blog, one dedicated solely to origami. This way, as I complete instructional sheets, I can post them directly to this blog and it will not interfere with my Beatles blog. Categories
All
Archives
November 2014
|
||||||||||||||||||||||||||||||||||||
 RSS Feed
