|
Difficulty: Intermediate
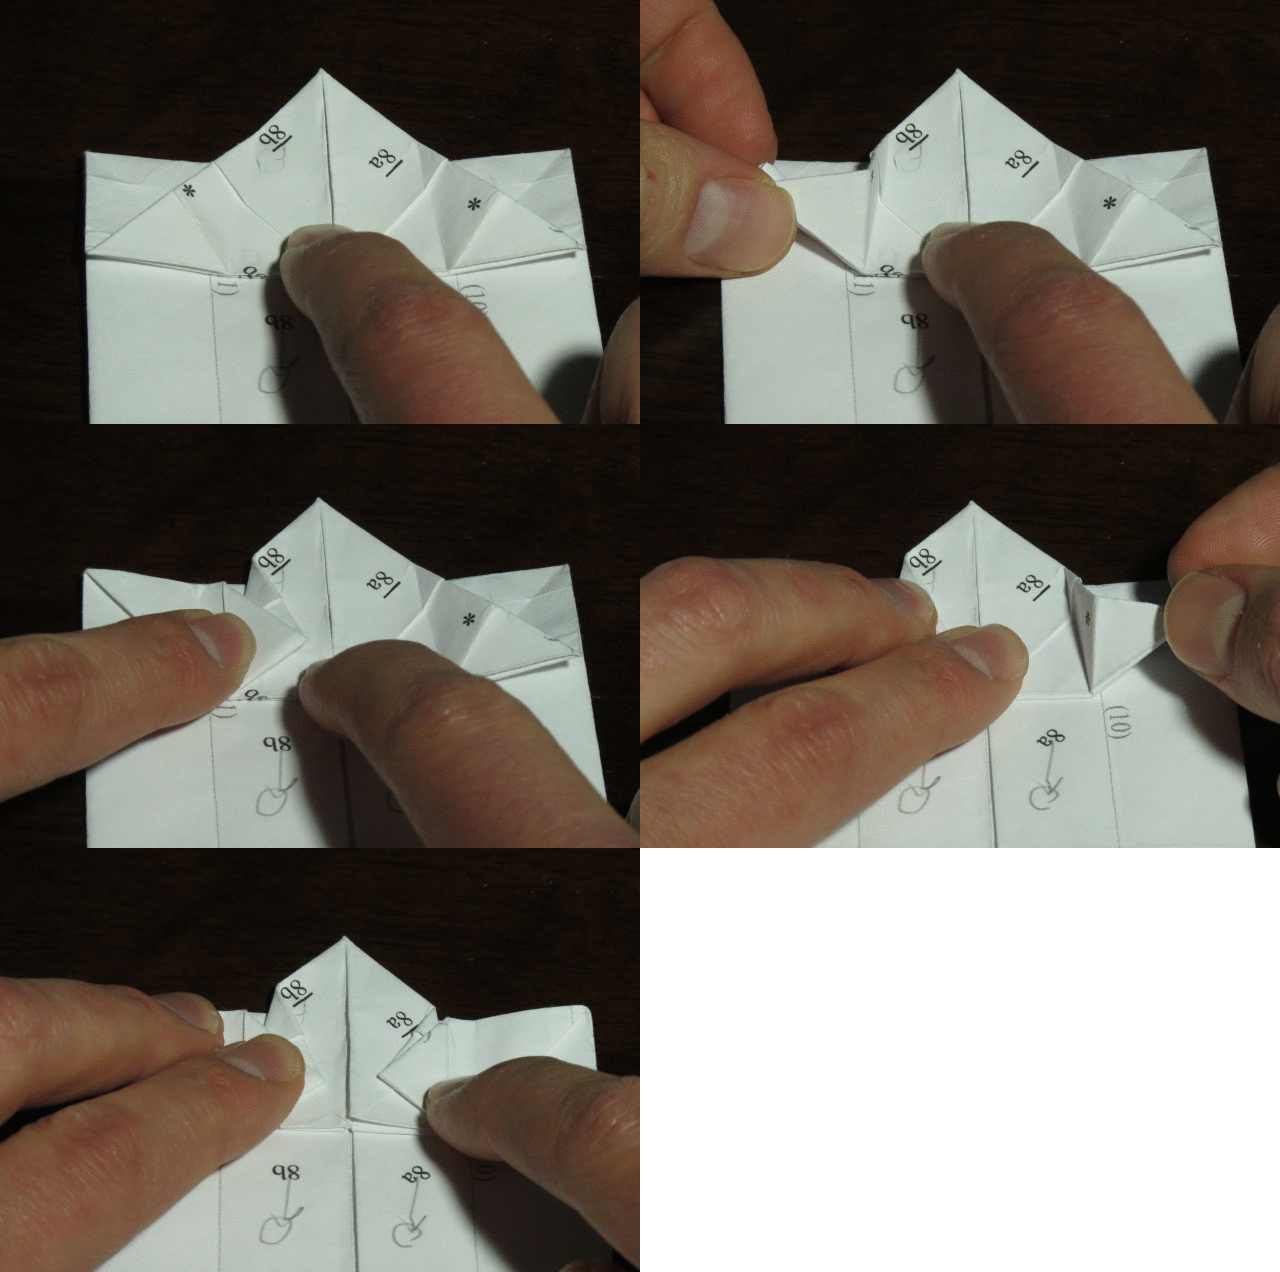
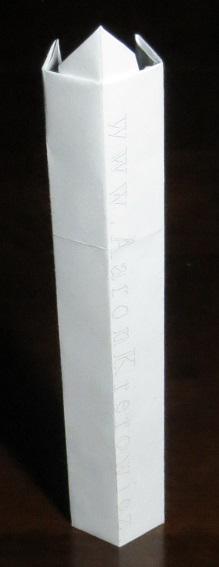
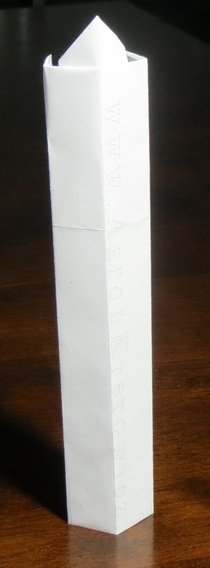
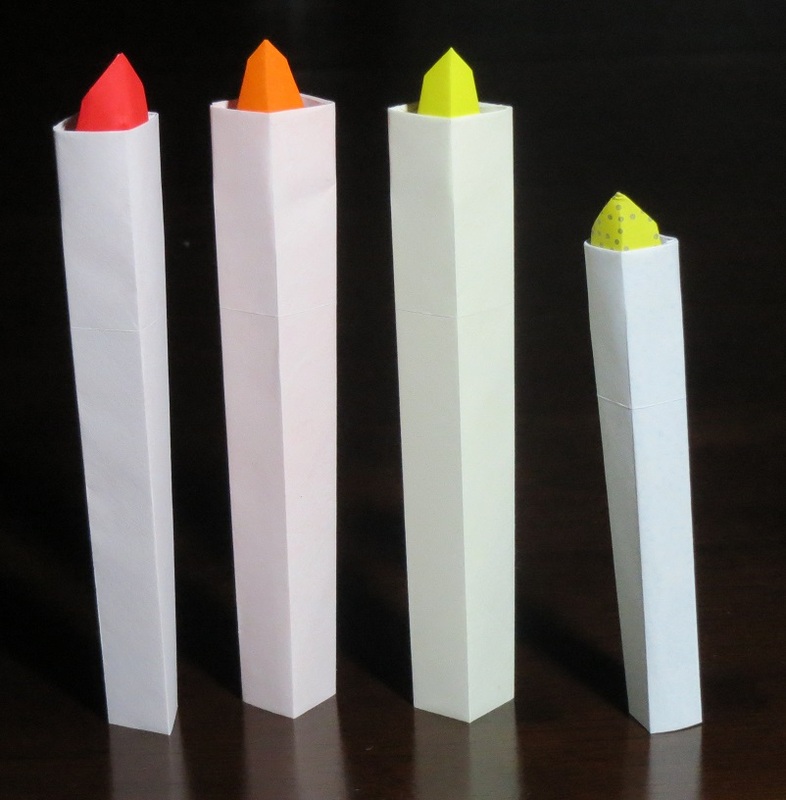
As promised in the directions, here is an animation illustrating the tricky fold that thins the flame of the candle. And here's the finished product.
0 Comments
Difficulty: Easy/Intermediate
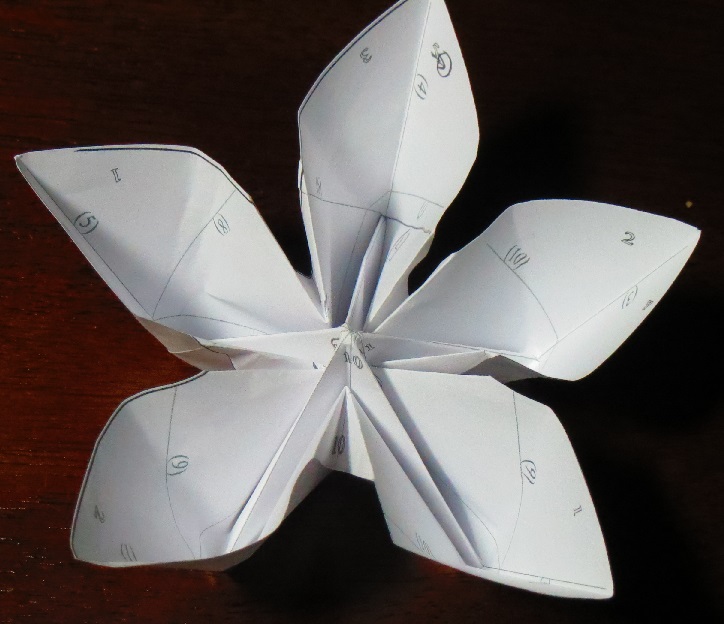
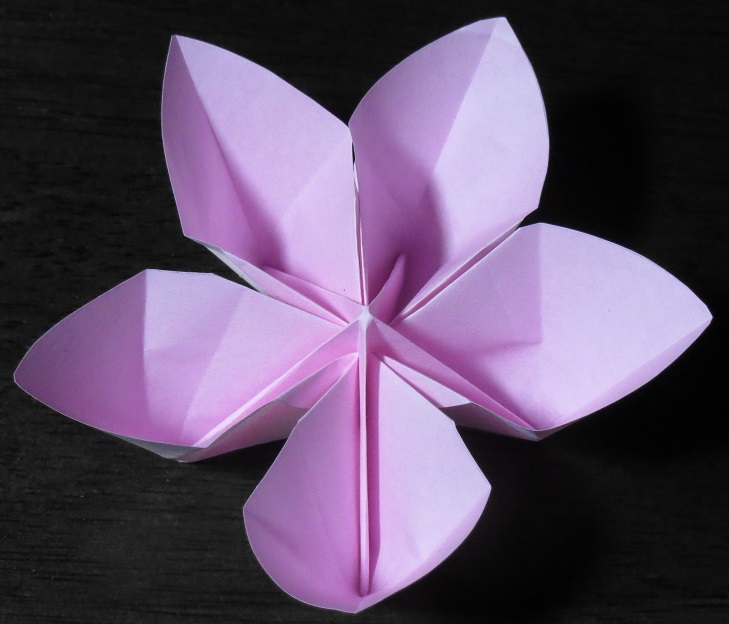
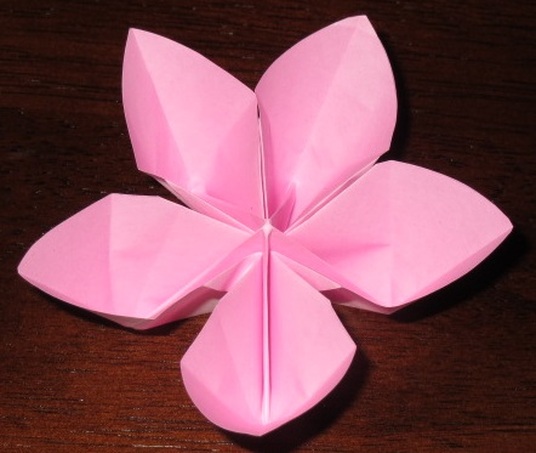
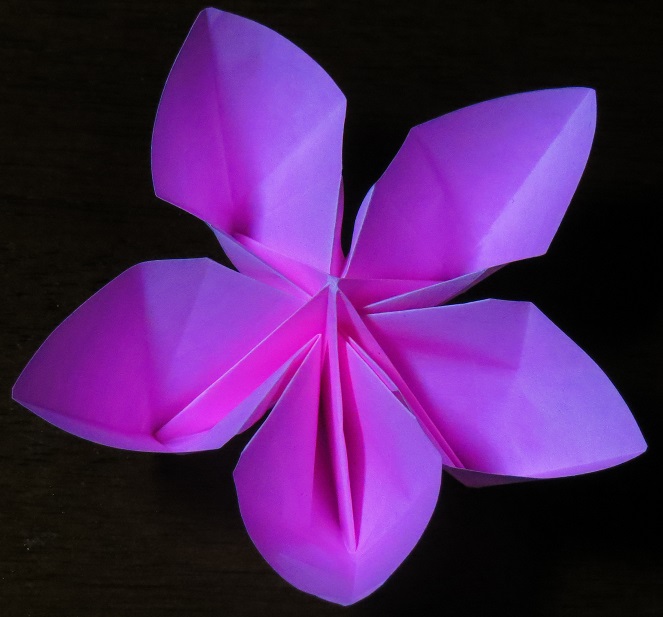
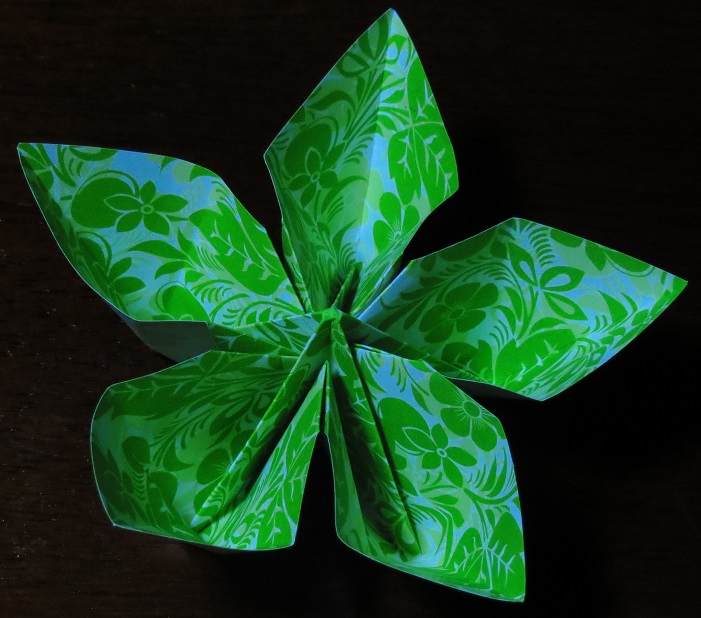
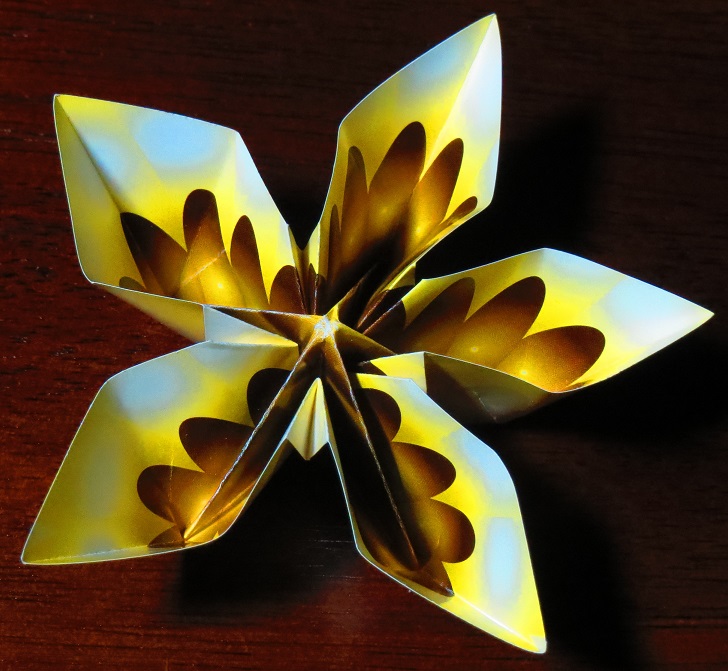
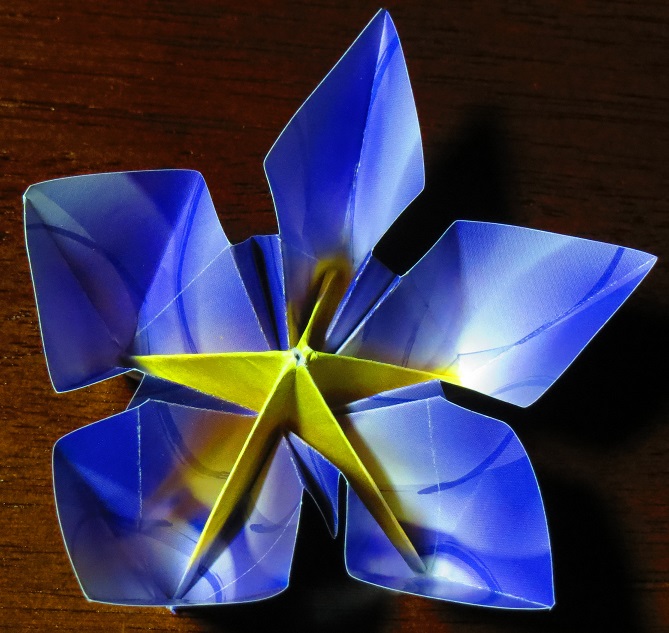
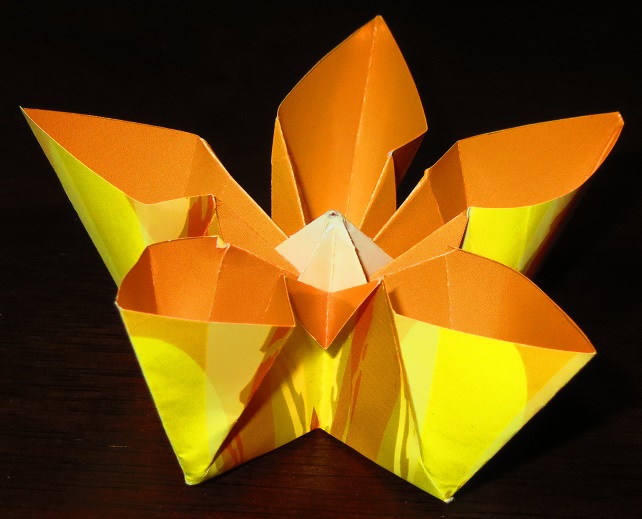
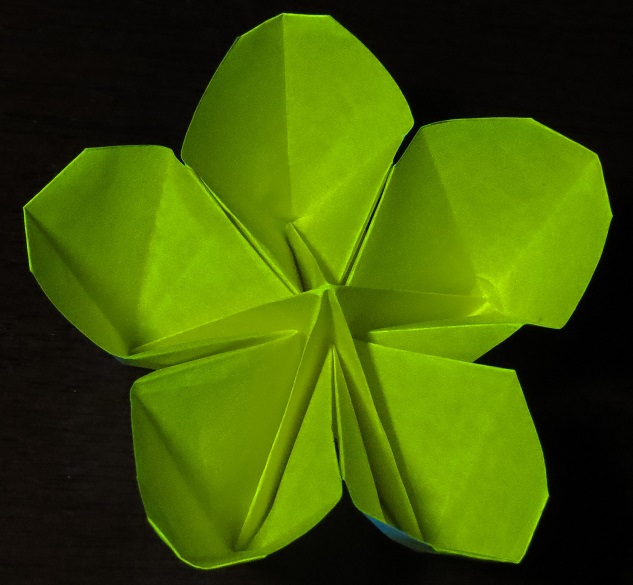
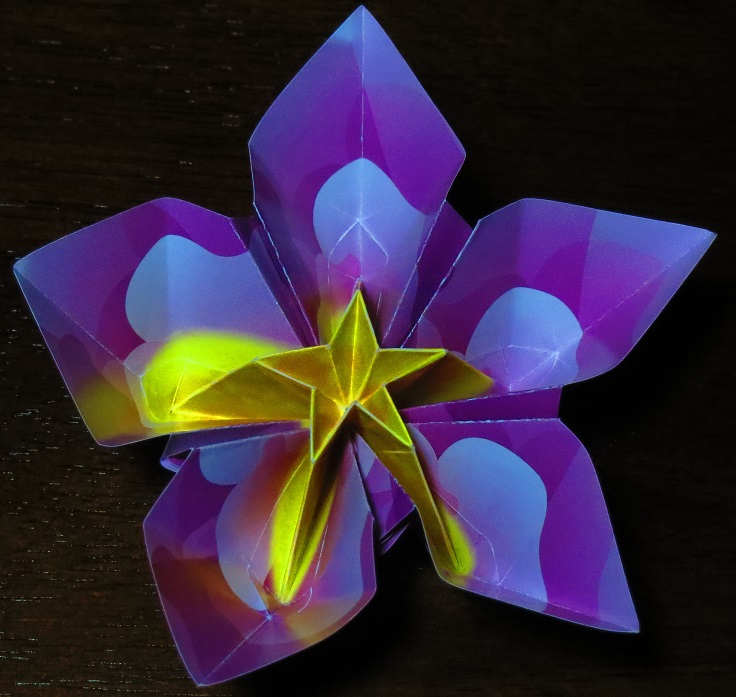
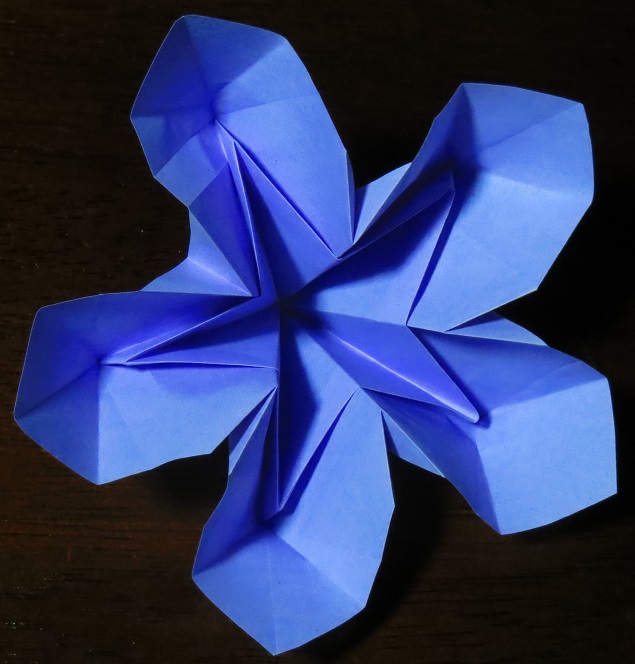
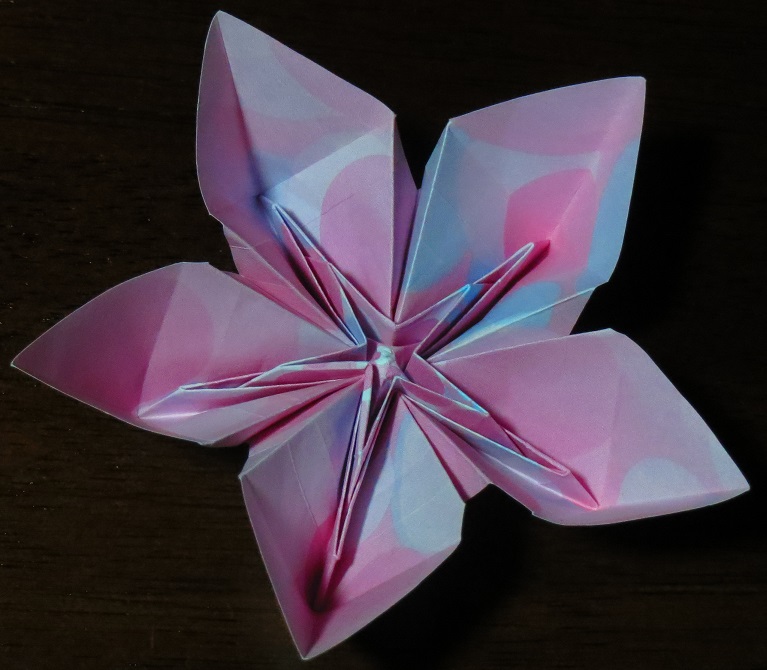
Perhaps my favorite thing about this particular fold is the amount of experimentation that can be done to produce slightly different results. Of course, every fold pattern can be experimented with, but this one in particular is conducive to many such experiments. For example, on this one I folded the tips down to give the petals a rounder tip. And on this one I folded the tip at the center of the flower down to create a star. Here's the same thing, but with a much bigger center star. And this one actually has three stars in the center (although the middle one is so small that it's more of a nub than a star).
Difficulty: hard
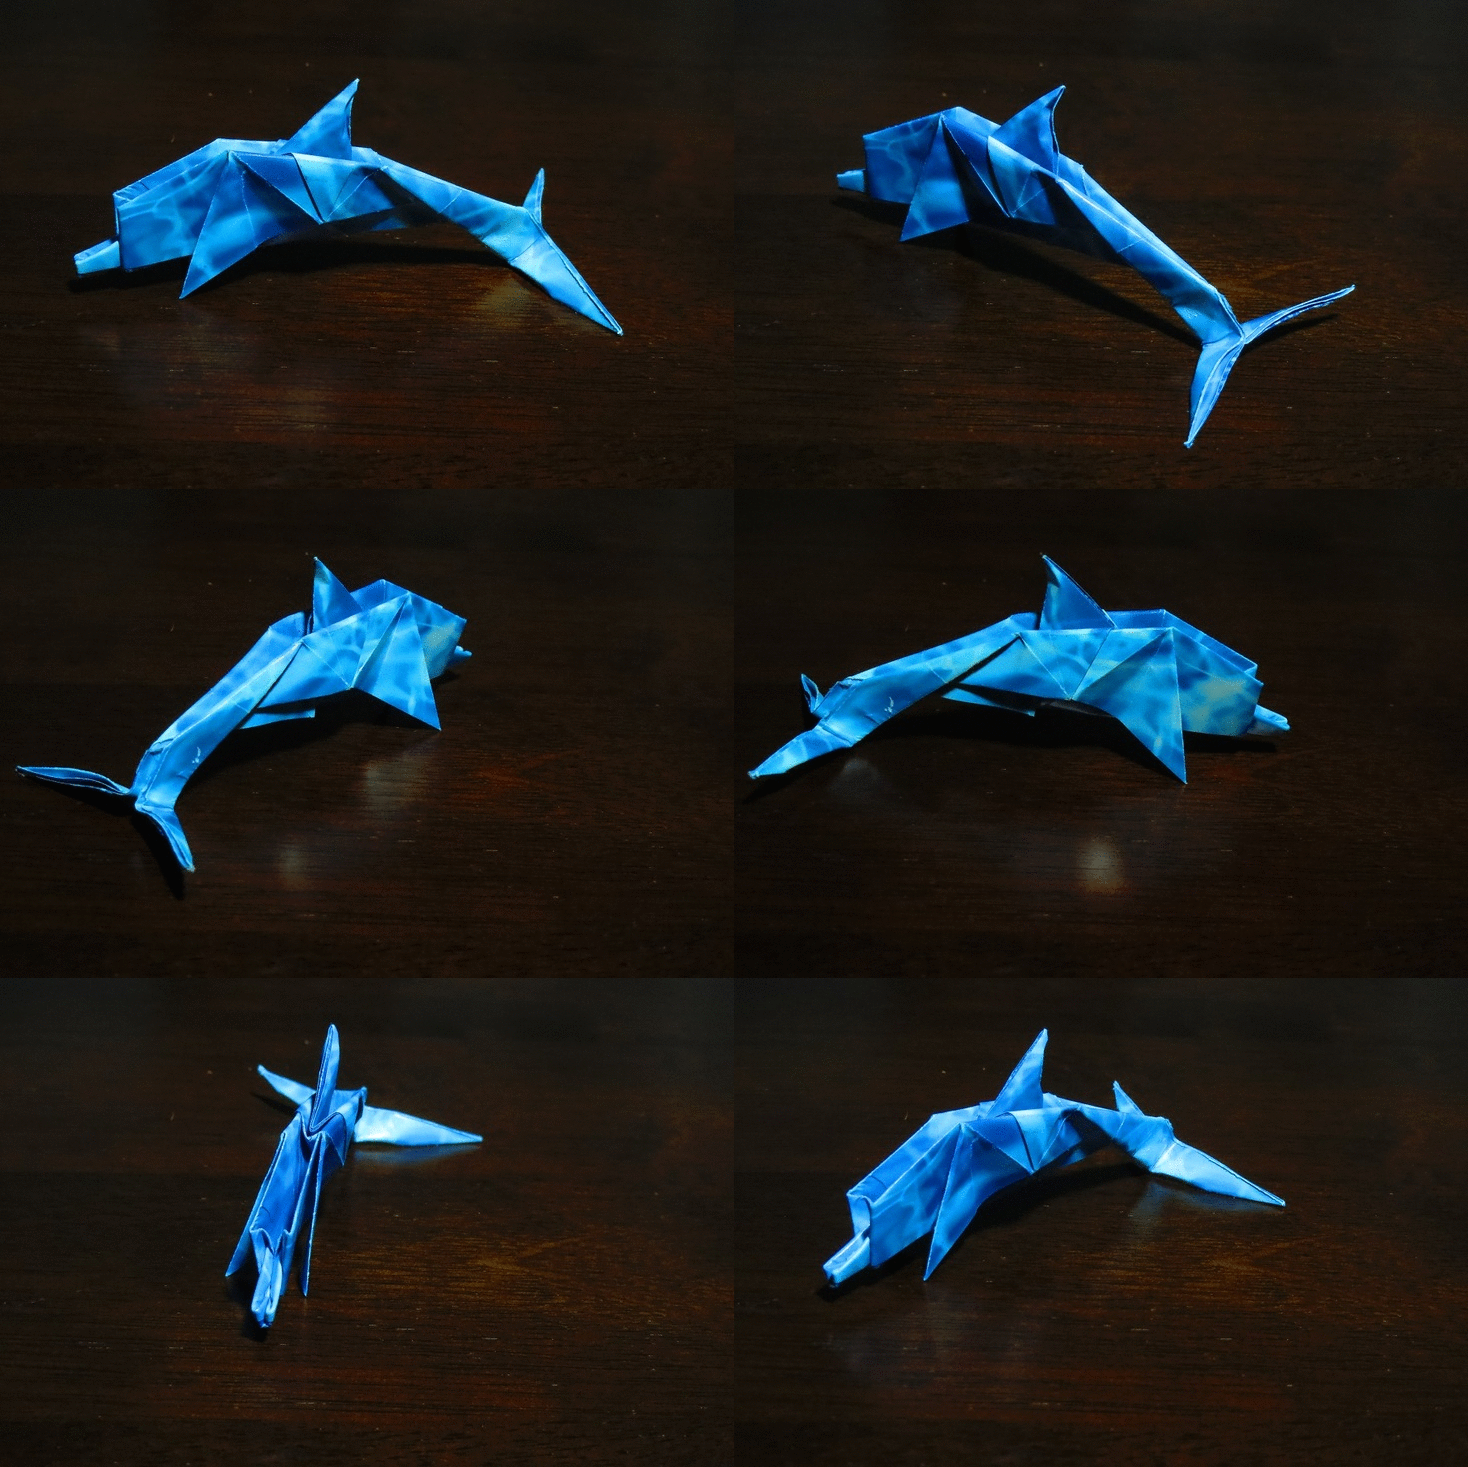
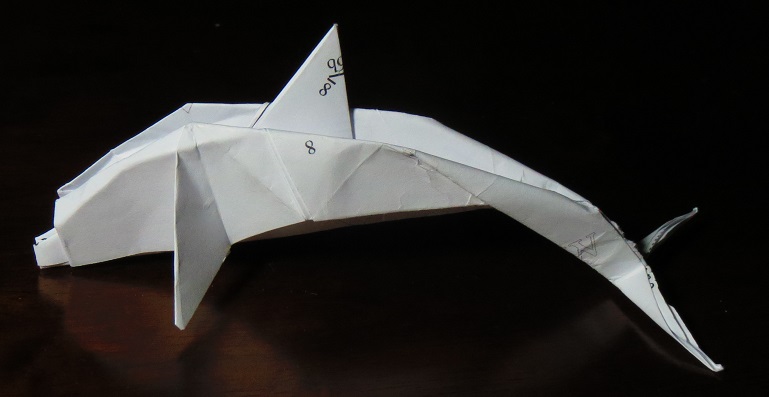
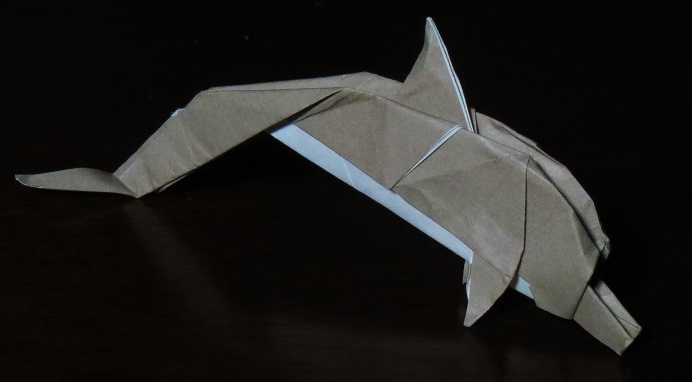
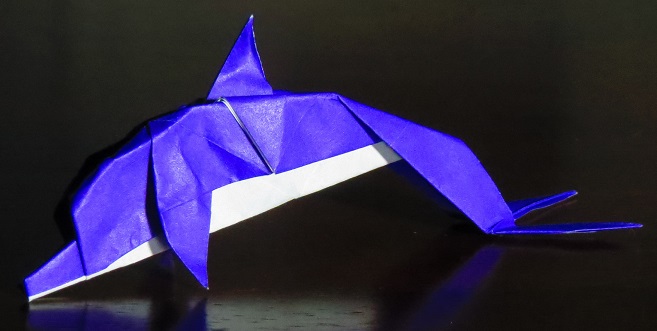
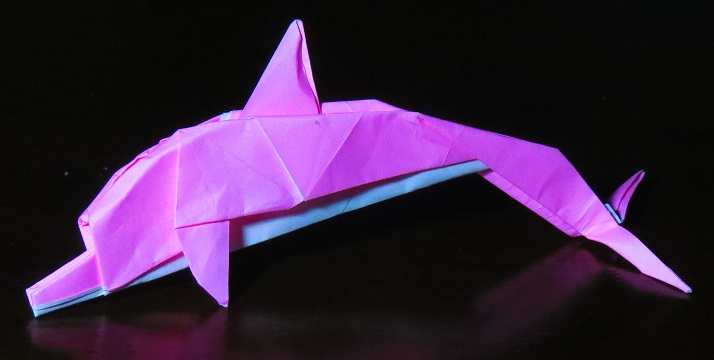
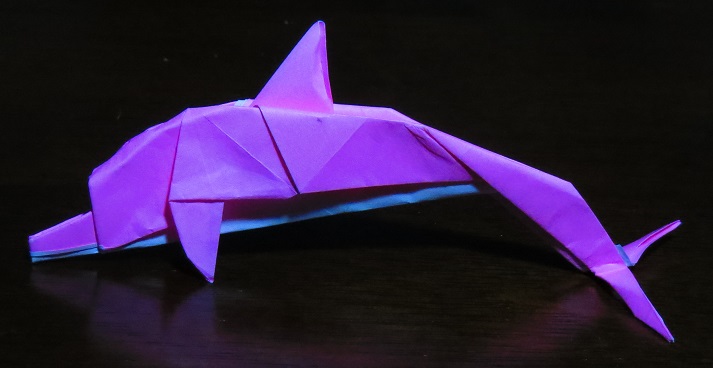
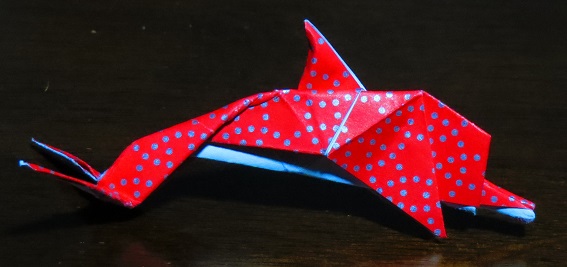
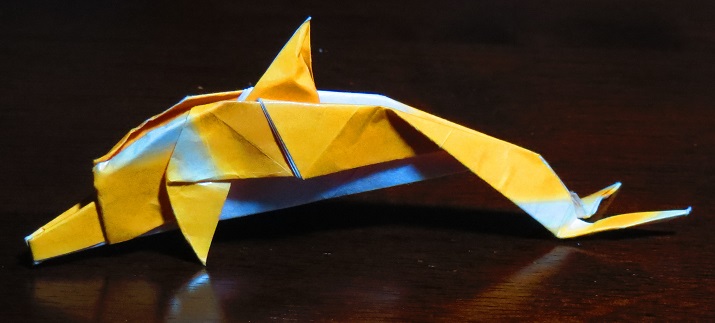
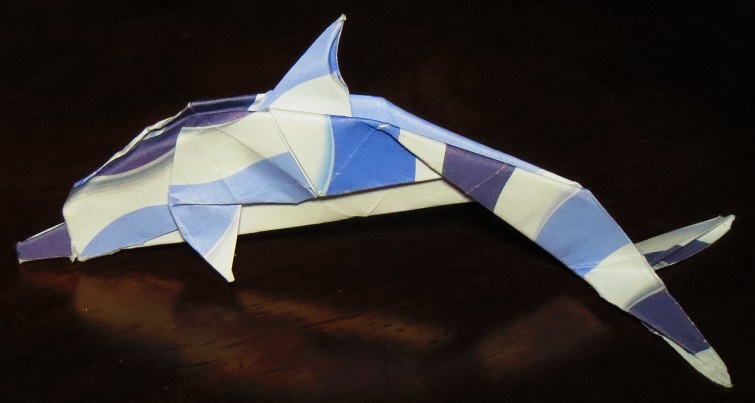
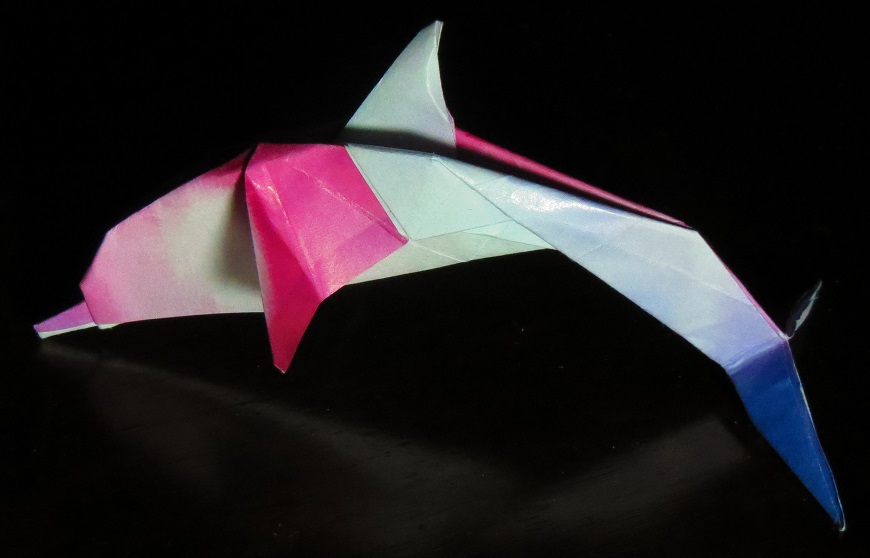
NOTE: Similar to the shark, the reason this project is categorized as "Hard" is not actually because the folds are difficult - the basic folds are actually relatively easy - but rather because so much is left to the folder to decide. Following the directions exactly will produce this: But there are many additional folds that could not be replicated in the instructions due to their intricacy. Note the differences between the above dolphin and those below, particularly (1) the thinner nose, (2) the fore fins, and (3) the curve of the dorsal fin. These extra steps and folds are not included in the directions, but such experimentation and fine-tuning is strongly encouraged. That extra independence required of the folder is what makes this project a "Hard" fold.
Difficulty: Intermediate (for inferences to be made by the folder)
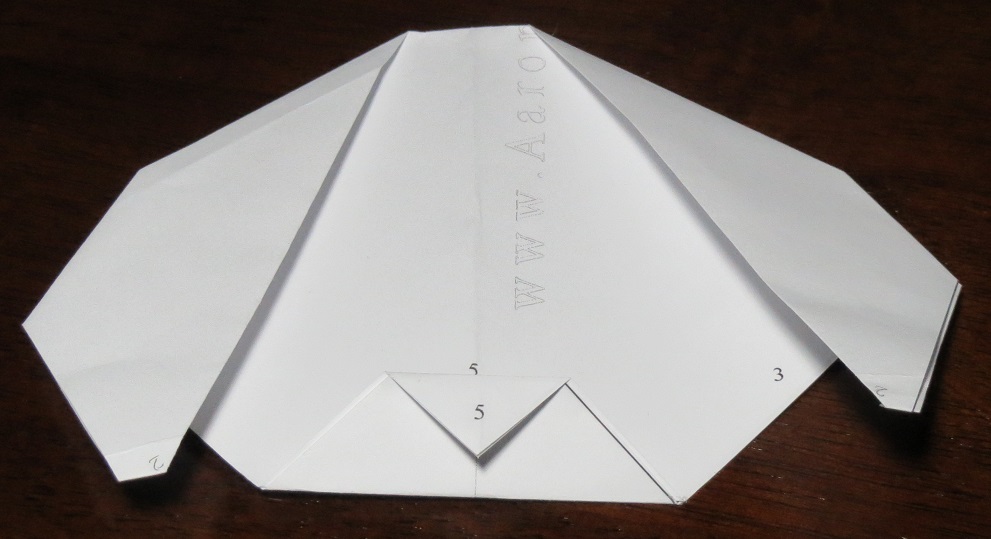
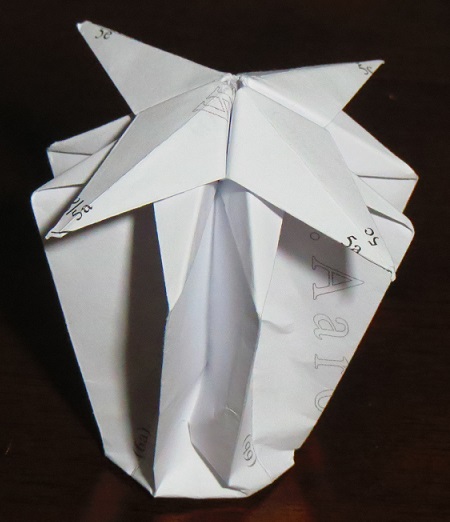
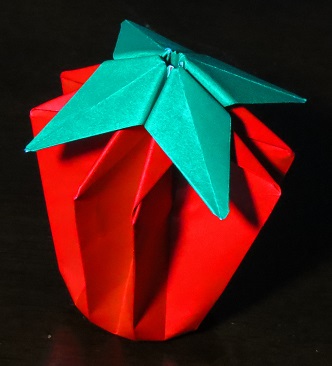
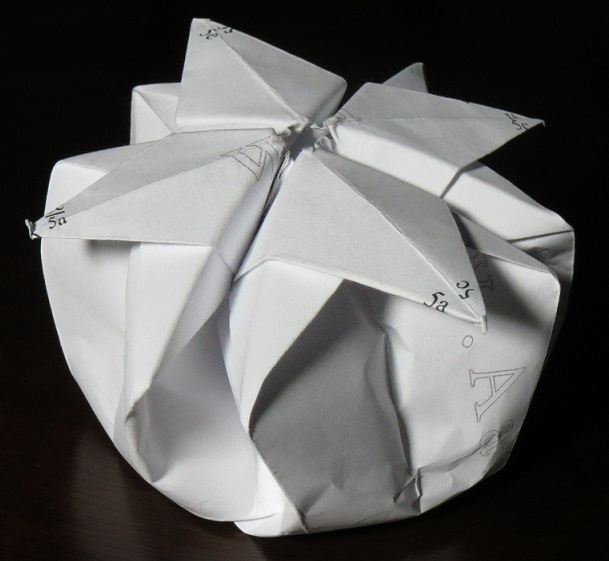
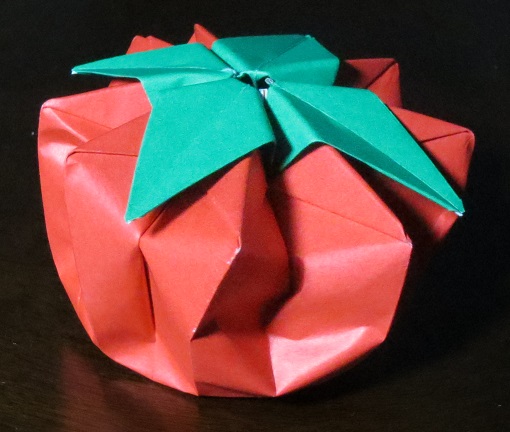
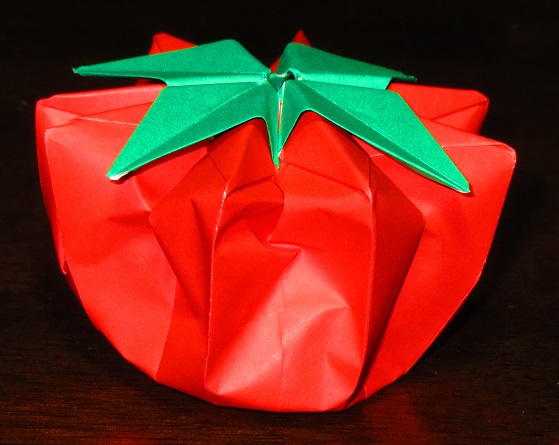
Similar to the cube (aka waterbomb), once the folding is complete for this pattern, you must inflate it by blowing into it. Inflate partially to produce a strawberry... ... or inflate fully to produce a tomato.
Difficulty: Hard (don't attempt unless you know how to execute squash folds)
Difficulty: Intermediate
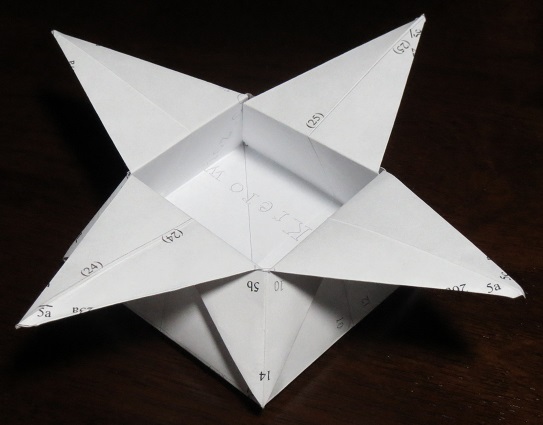
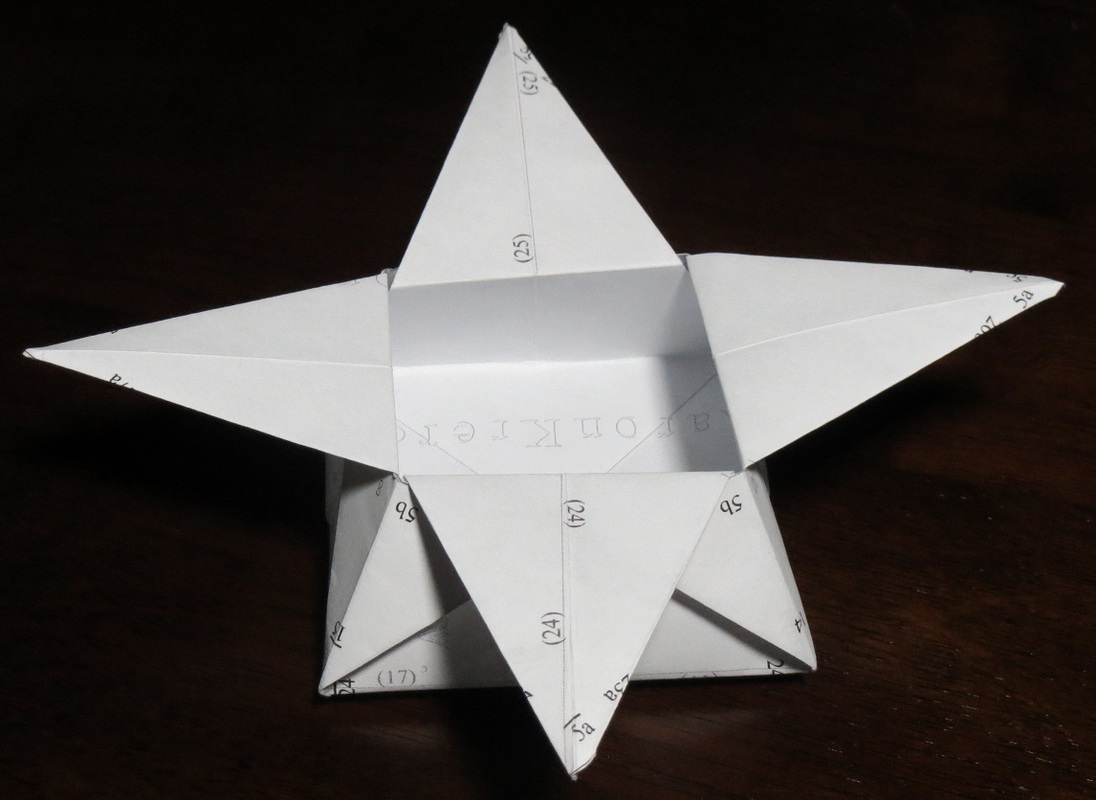
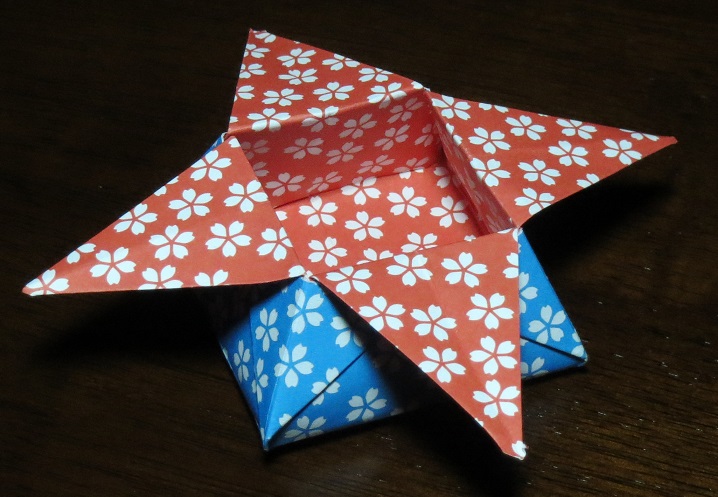
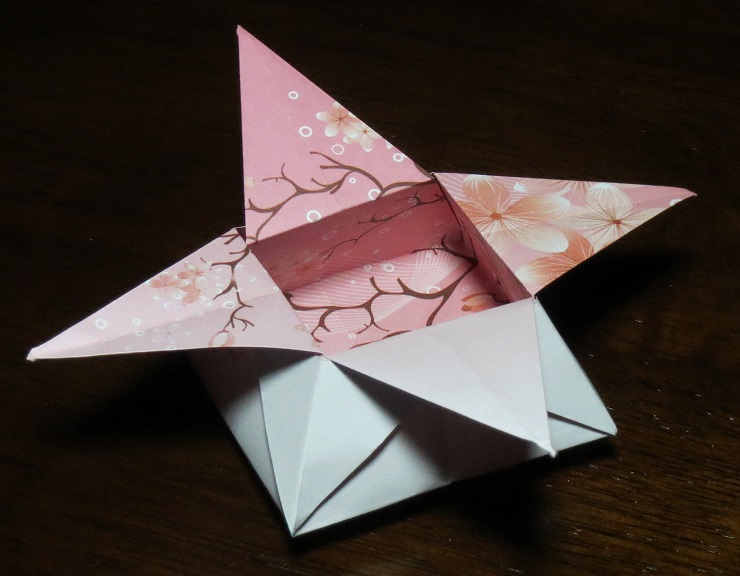
Here's a ... less than aesthetically pleasing version, worth showing to illustrate that two pieces of origami paper can be folded together to produce a multi-patterned flower box. And here's a slightly more elegant looking product, but since it's a single sheet of paper, notice that only part is colored while the other part is blank white.
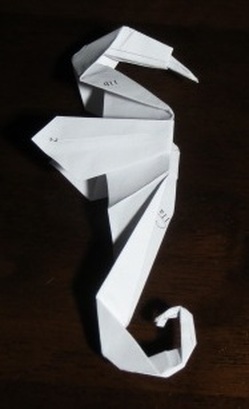
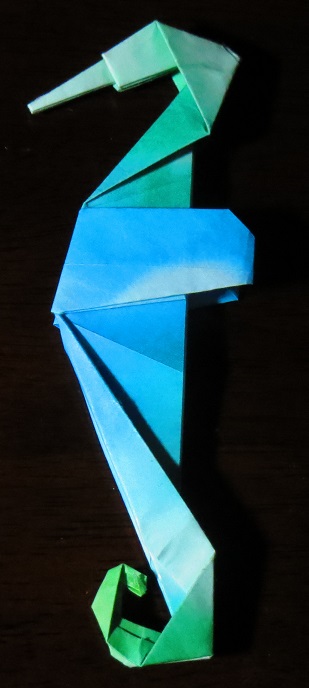
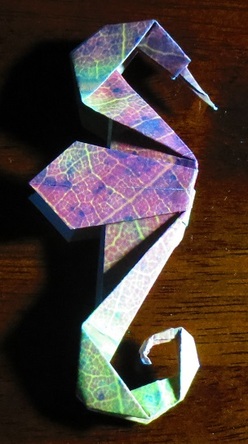
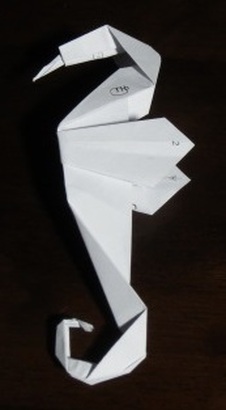
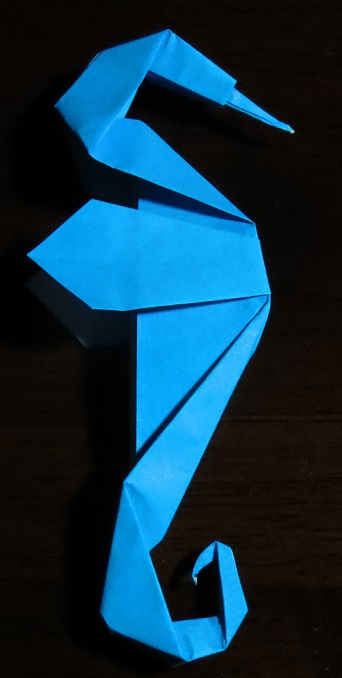
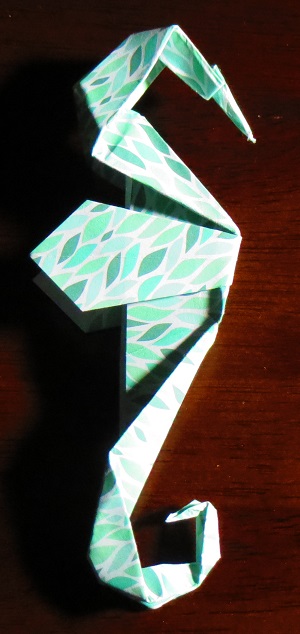
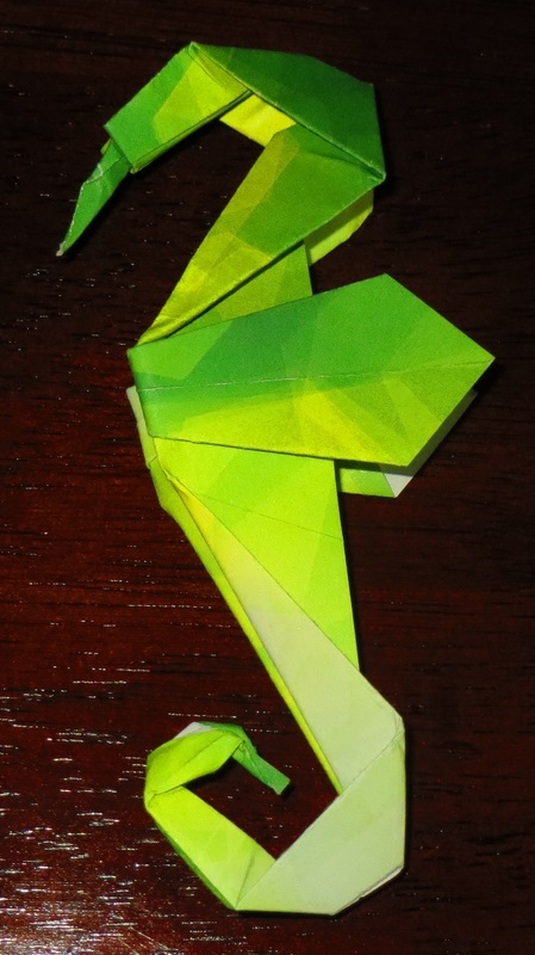
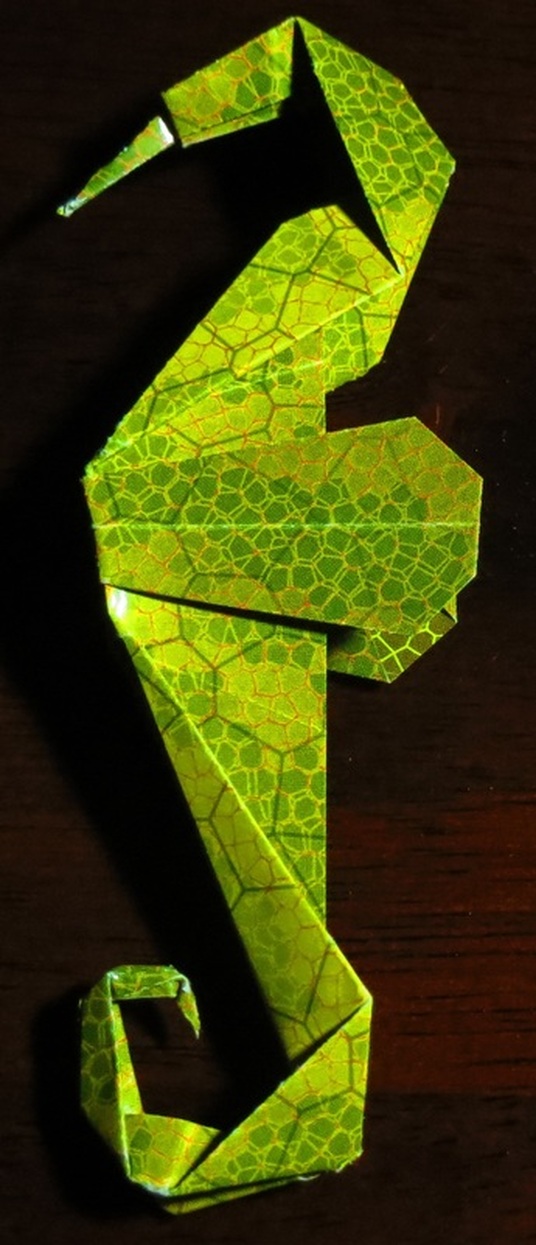
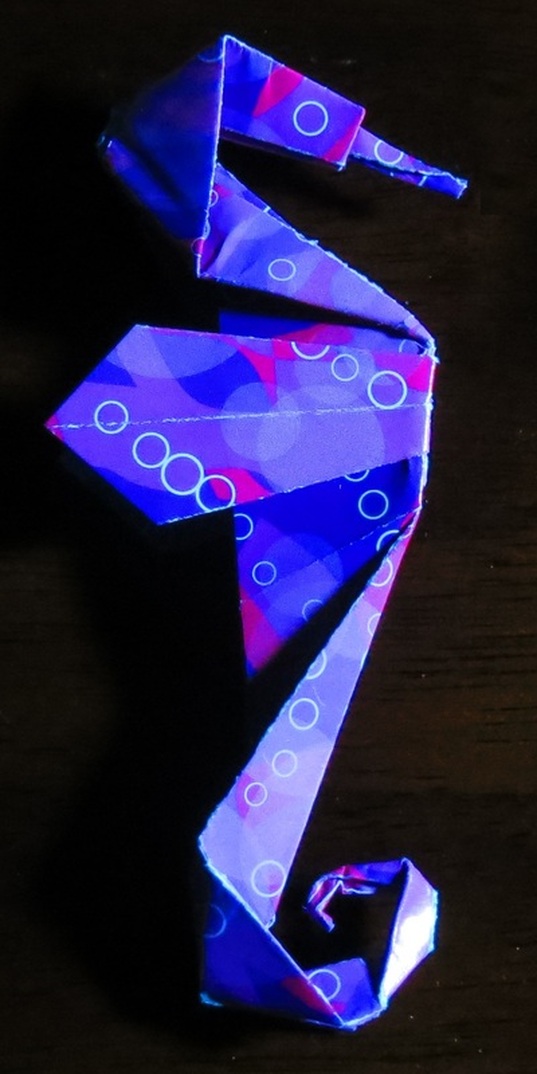
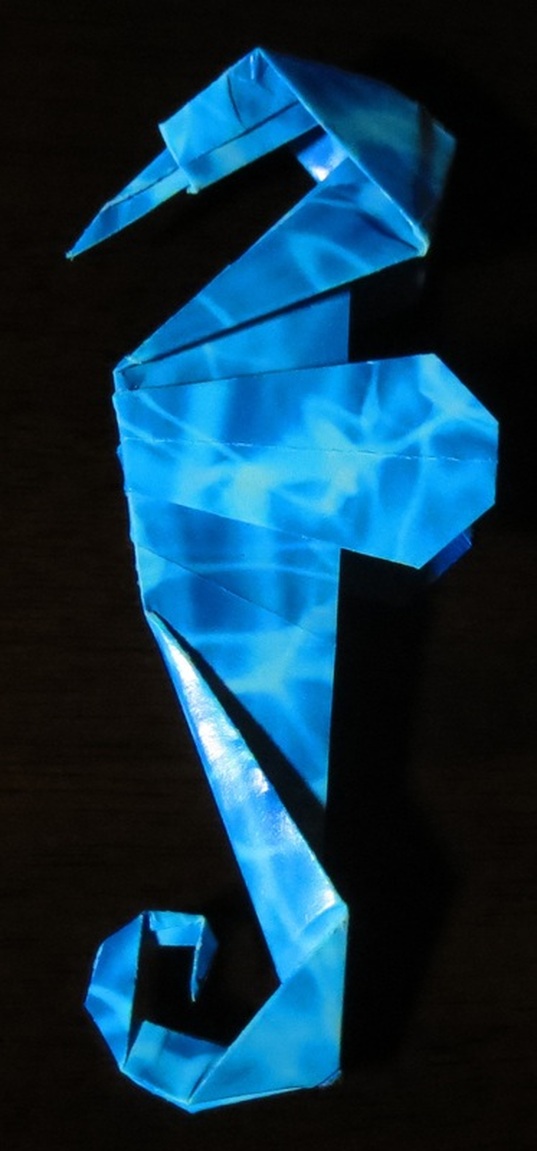
Difficulty: Hard (do not attempt unless you know how to do squash folds and inverse folds) NOTE: This one is difficult due to the amount of independent experimentation required of the folder. The folds that form the head and tail are simply too intricate to to include in the printed instructions. Therefore, it is up to the folder to play with it until satisfactory.
Difficulty: very easy
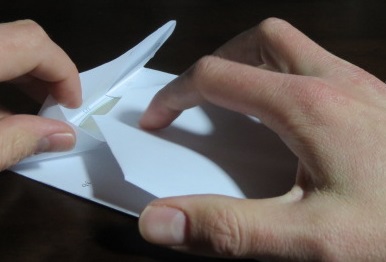
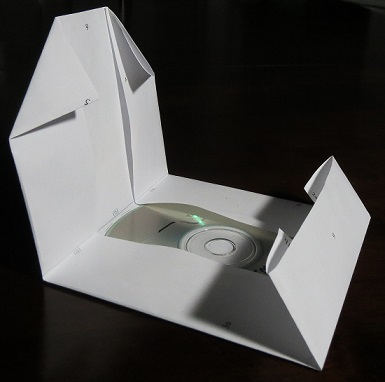
Directions: Fold 1a to 1a, and 1b to 1b. Fold 2a to 2a, and 2b to 2b. Fold 3a to 3a, and 3b to 3b. Fold 4 to 4. Fold 5 to 5. Fold 6 to 6. Slip the pointed fold underneath the top layer of paper so that it stays shut (see picture below for guidance). And here's the completed fold, with CD inside. First open... ... and then closed.
Difficulty: Intermediate
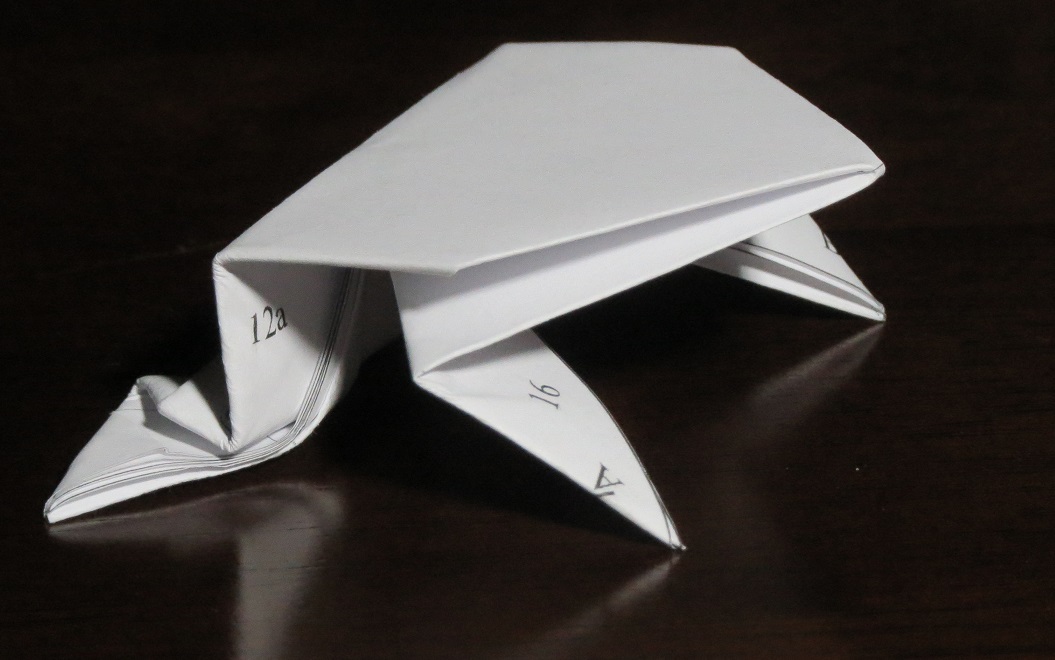
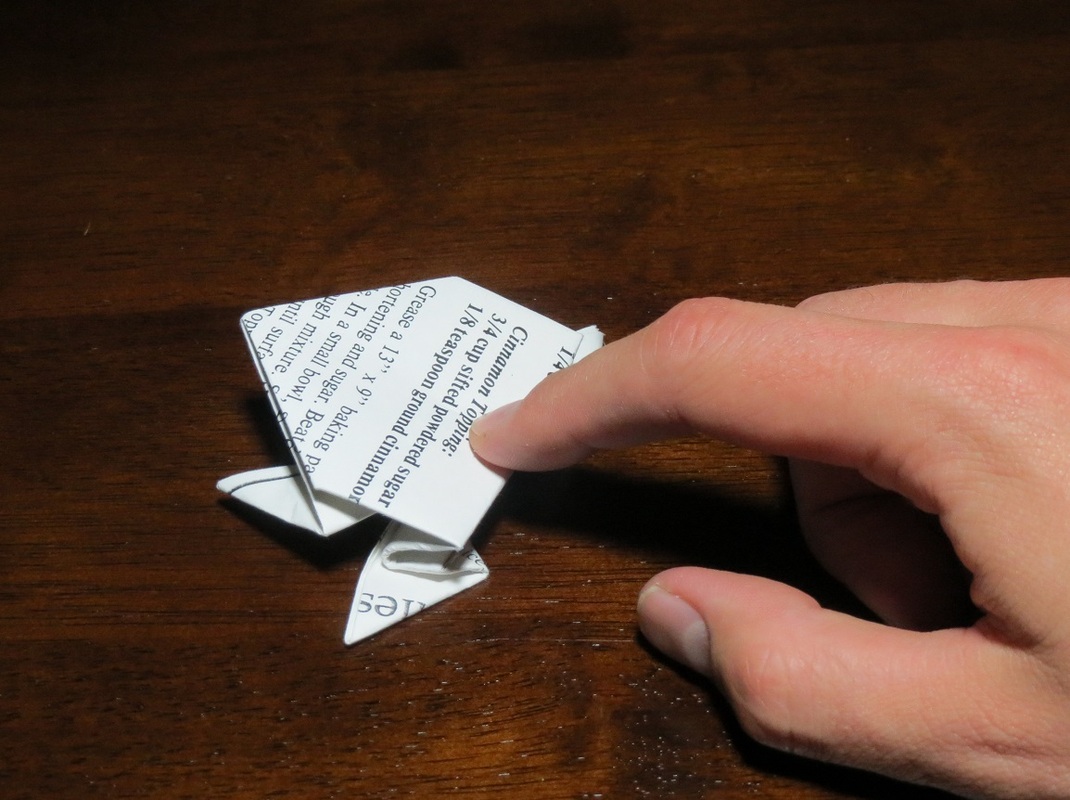
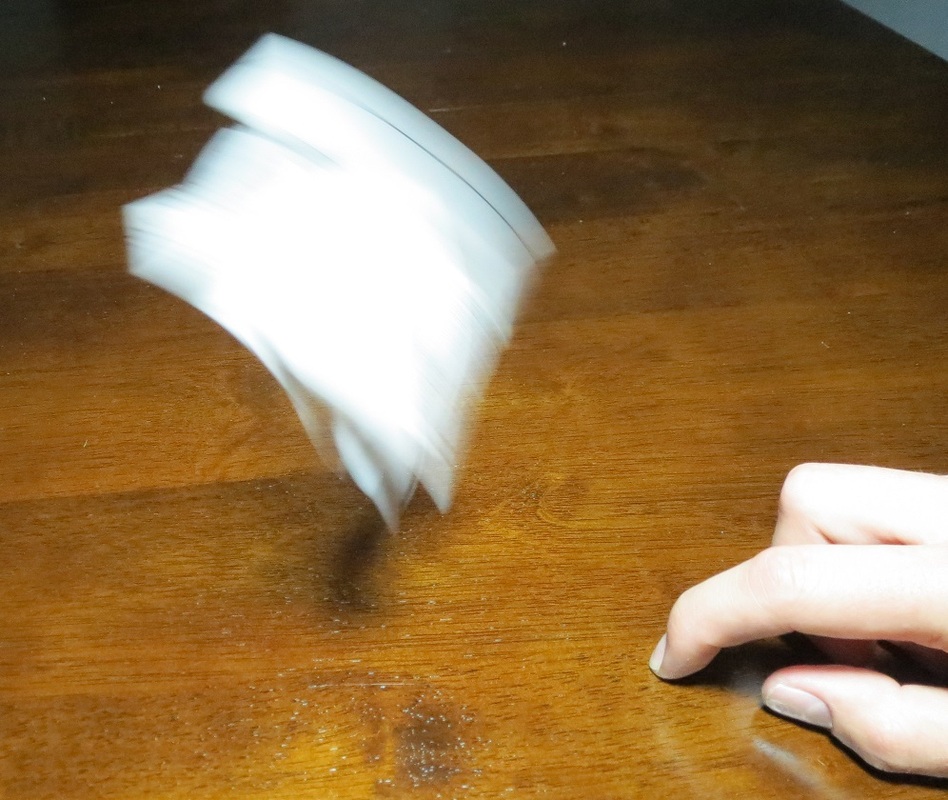
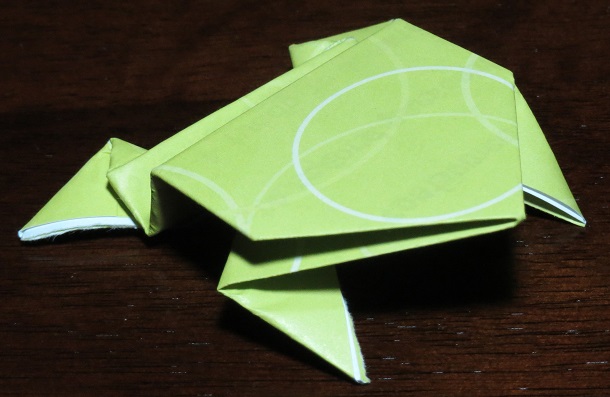
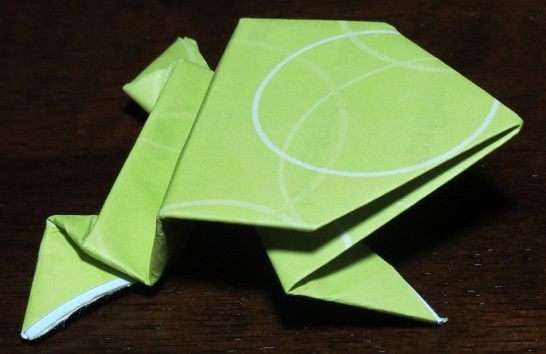
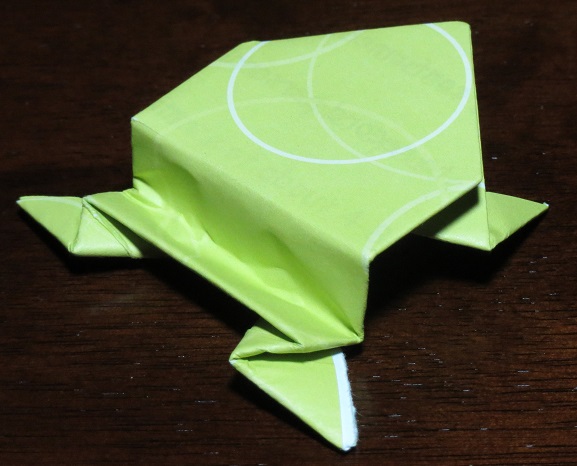
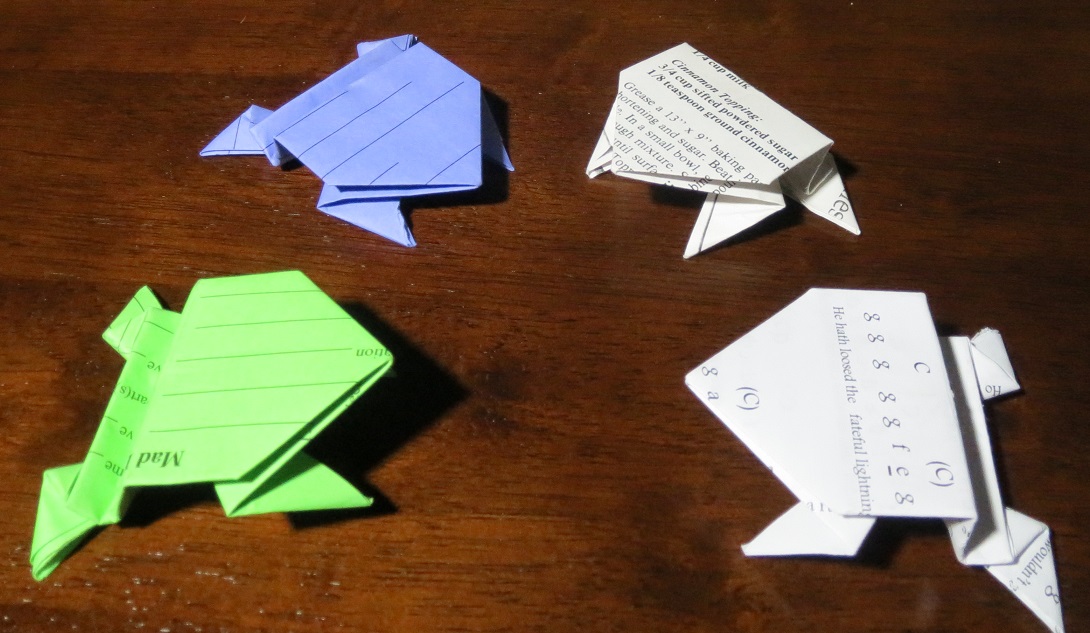
To make the frog "jump", apply pressure to the frog's posterior with a finger... ... and suddenly release.
|
Origami Blog
My 8 March 2013 blog about origami prompted me to launch a second blog, one dedicated solely to origami. This way, as I complete instructional sheets, I can post them directly to this blog and it will not interfere with my Beatles blog. Categories
All
Archives
November 2014
|
||||||||||||||||||||||||||||||||||||||||||||||||||||||
 RSS Feed
